


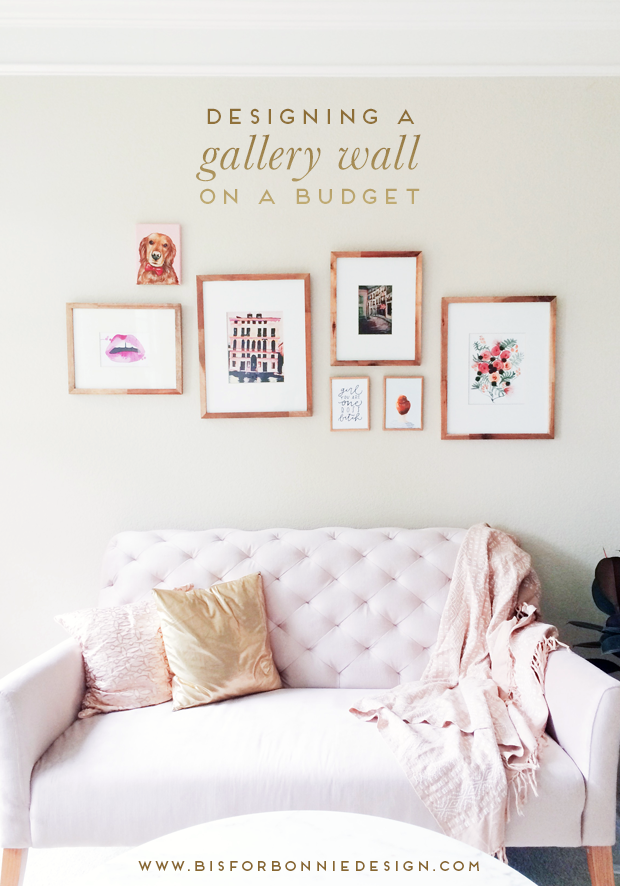
Happy Friday, y’all! After a productive week of new client work, inspiring mentoring calls, and my first-ever Barre class, I’m excited to share another little peek inside my studio. Since my the first look I shared into my home studio, I’ve been working hard in my free time to finish out this space with inspiring artwork and more personal touches. Last week, after months of procrastination, I made a date with Armon’s hammer, level and all the picture frame nails I could find, and didn’t leave the room until this little gallery wall was complete! The final product is such a vibrant addition to this little sitting area, and since I used artwork, frames and hardware I’d already acquired, the entire project was free. But that’s not always the case, right? Let’s look at how you can whip up a stunning gallery wall for your own workspace or home without shelling out hundreds of dollars to make that happen!
Setting a Budget
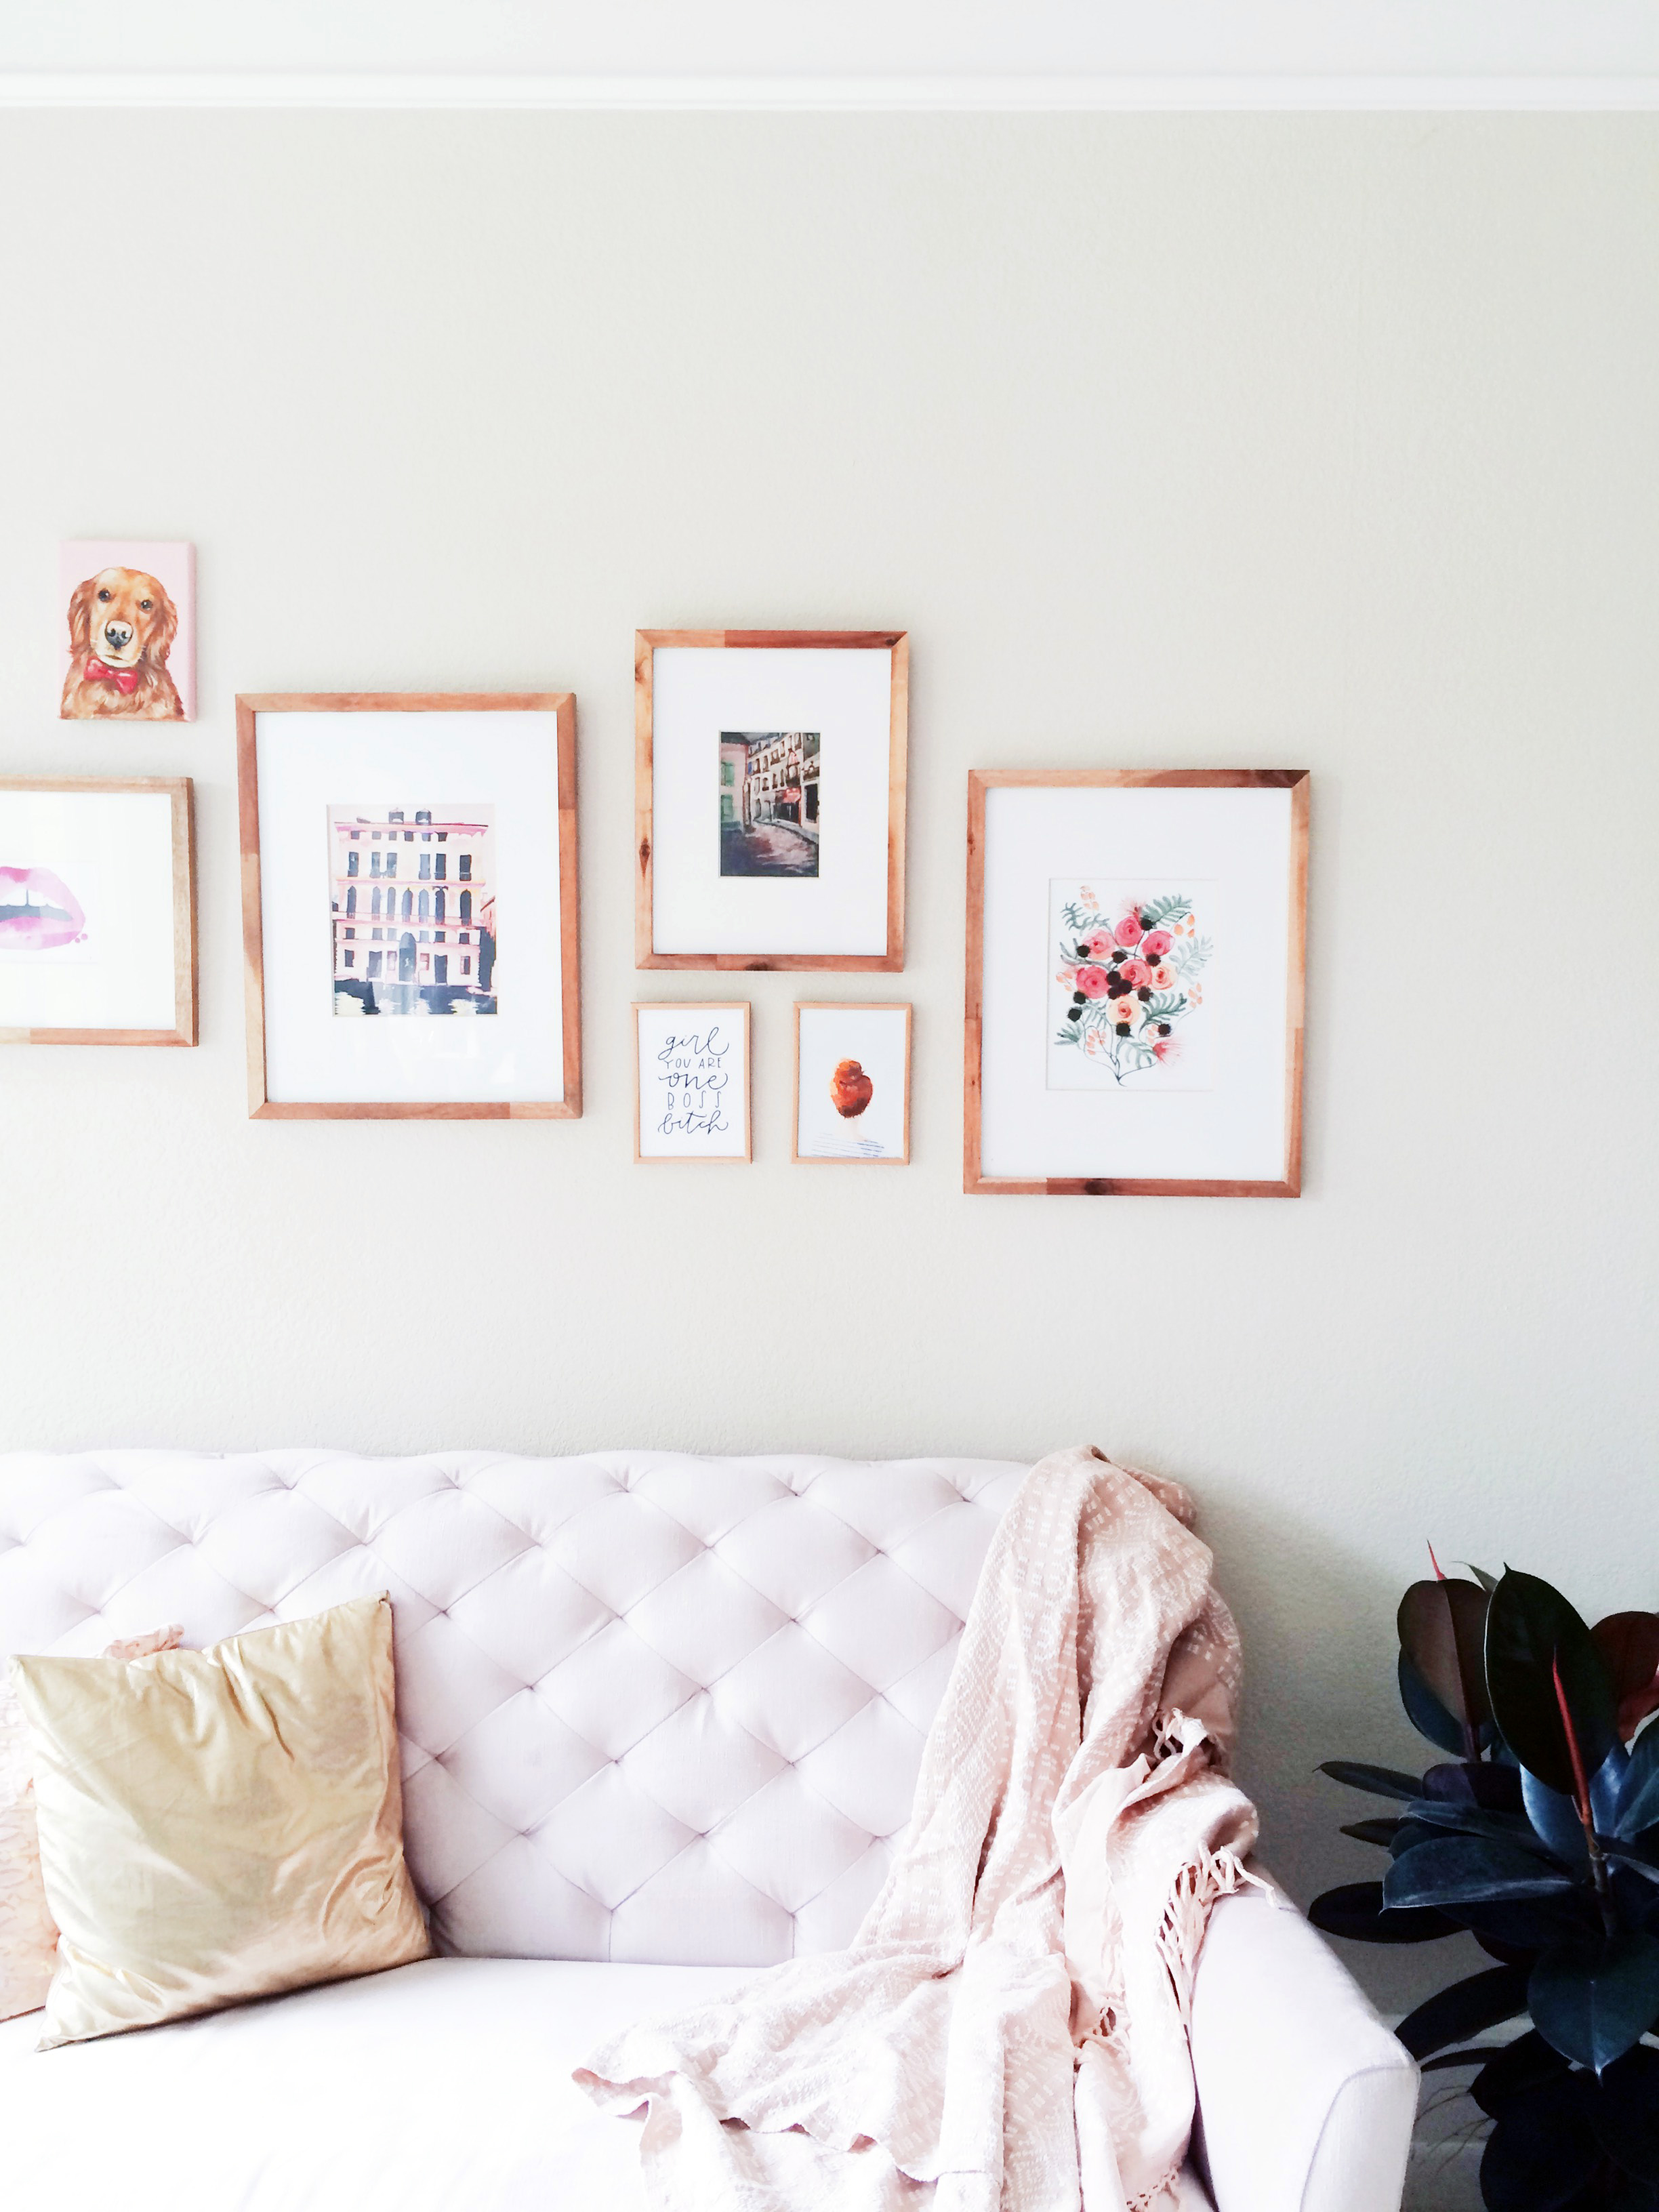
I originally sourced all these frames and prints when we lived in South Carolina, and just about everything was a find on Etsy, Target or my local craft store. When we first moved into our space in South Carolina, my business was still growing and I couldn’t justify spending much on office decor. So, I set a firm yet realistic budget in place to hold myself accountable and ensure I didn’t lose my mind the next time I walked by the Home Decor section at Target! Realistically consider what kind of gallery wall you want to create, how large you’ll want it to be, and how many pieces of art you’ll want to include. The more accurate you can be, the more realistic your budget will be, too! For my space, I knew I didn’t need any overly large pieces of art, and I was fine with more cost-effective prints than priceless original works of art. Think about your tastes, space and what you’re comfortable spending, and then stick to it!
Choosing the Right Frames
Once you have your artwork selected, and your budget nailed down, it’s important to choose the right frames to bring the entire vignette together. Don’t forget to explore shops like a local TJ Maxx or HomeGoods for stylish, discounted frames. I found these wooden frames at my local Target a few years ago, and the smaller frames were cheaper buys from Michaels so I could spray paint them the color I envisioned. If you have a smaller piece of art that you want to take center stage, try experimenting with a matte to make more of a statement. For a more dramatic look, mix in thick, bold frames. Or, opt for a more minimal look with thin, modern styles.
Experimenting with Layout
Before it’s time to break out the nails and level, it’s important to explore different layouts using the art you have in mind. I’m a visual person, so laying everything out on the floor and experimenting with different pieces in different areas is not only helpful, but it’s just plain fun! This method also is a great way ensure you truly love a layout before committing to having it on your wall for months, or even years. I like to leave one specific layout on the floor for at least a week while I decide if that’s the right overall design for me.
Hanging like a Pro
We can all agree that one of the most daunting parts of hanging a gallery wall is getting each frame right where it should go. Unless you’re really careful with your measurements, you can easily litter your walls with holes that don’t quite match up with your original vision. In order to avoid crooked frames and pieces that don’t match your desired grid, be sure to decide how much buffer you want in-between each frame, and measure the actual distance from the frame hardware to the top edge of the frame so you can mark where each nail should fall exactly. Personally, I like to start with the center pieces of art before adding the coordinating frames to the perimeter. As you start hanging, remember to take things slowly, measure thoughtfully, and laugh it off if you find one nail is dramatically out of place. That’s why they make touchup paint, after all!
Have you recently hung a gallery wall in your home or office? How did you go about sourcing your art and frames to create the perfect space? Sound off in the comments below, and bonus points if you want to share a photo of your space!


leave a comment